Description
Homemade bagels are a delightful treat, and you can customize them with various toppings or add-ins for a unique twist. Enjoy your freshly baked bagels!Ingredients
Toppings (optional)
Instructions
- In a small bowl, combine the warm water and sugar. Stir until the sugar is dissolved. Sprinkle the yeast over the water-sugar mixture and let it sit for about 5-10 minutes, or until it becomes frothy. This indicates that the yeast is active and ready to use.
- In a large mixing bowl, combine the flour and salt. Pour in the activated yeast mixture and stir until a dough forms.
Turn the dough out onto a lightly floured surface and knead it for about 10 minutes, or until it's smooth and elastic. You may need to add a little more flour if the dough is too sticky.
- Divide the dough into 8 equal portions. Roll each portion into a ball, then use your finger to poke a hole in the center. Gently stretch and shape the dough into a ring. Make the hole slightly larger than you want it to be when the bagel is finished, as it will shrink during boiling and baking.
- Preheat your oven to 425°F (220°C) and bring a large pot of water to a boil. Add a tablespoon of sugar to the boiling water. Carefully place the bagels in the boiling water, a few at a time, and boil for about 1-2 minutes on each side. This gives the bagels their chewy texture. Remove them with a slotted spoon and let them drain on a clean kitchen towel.
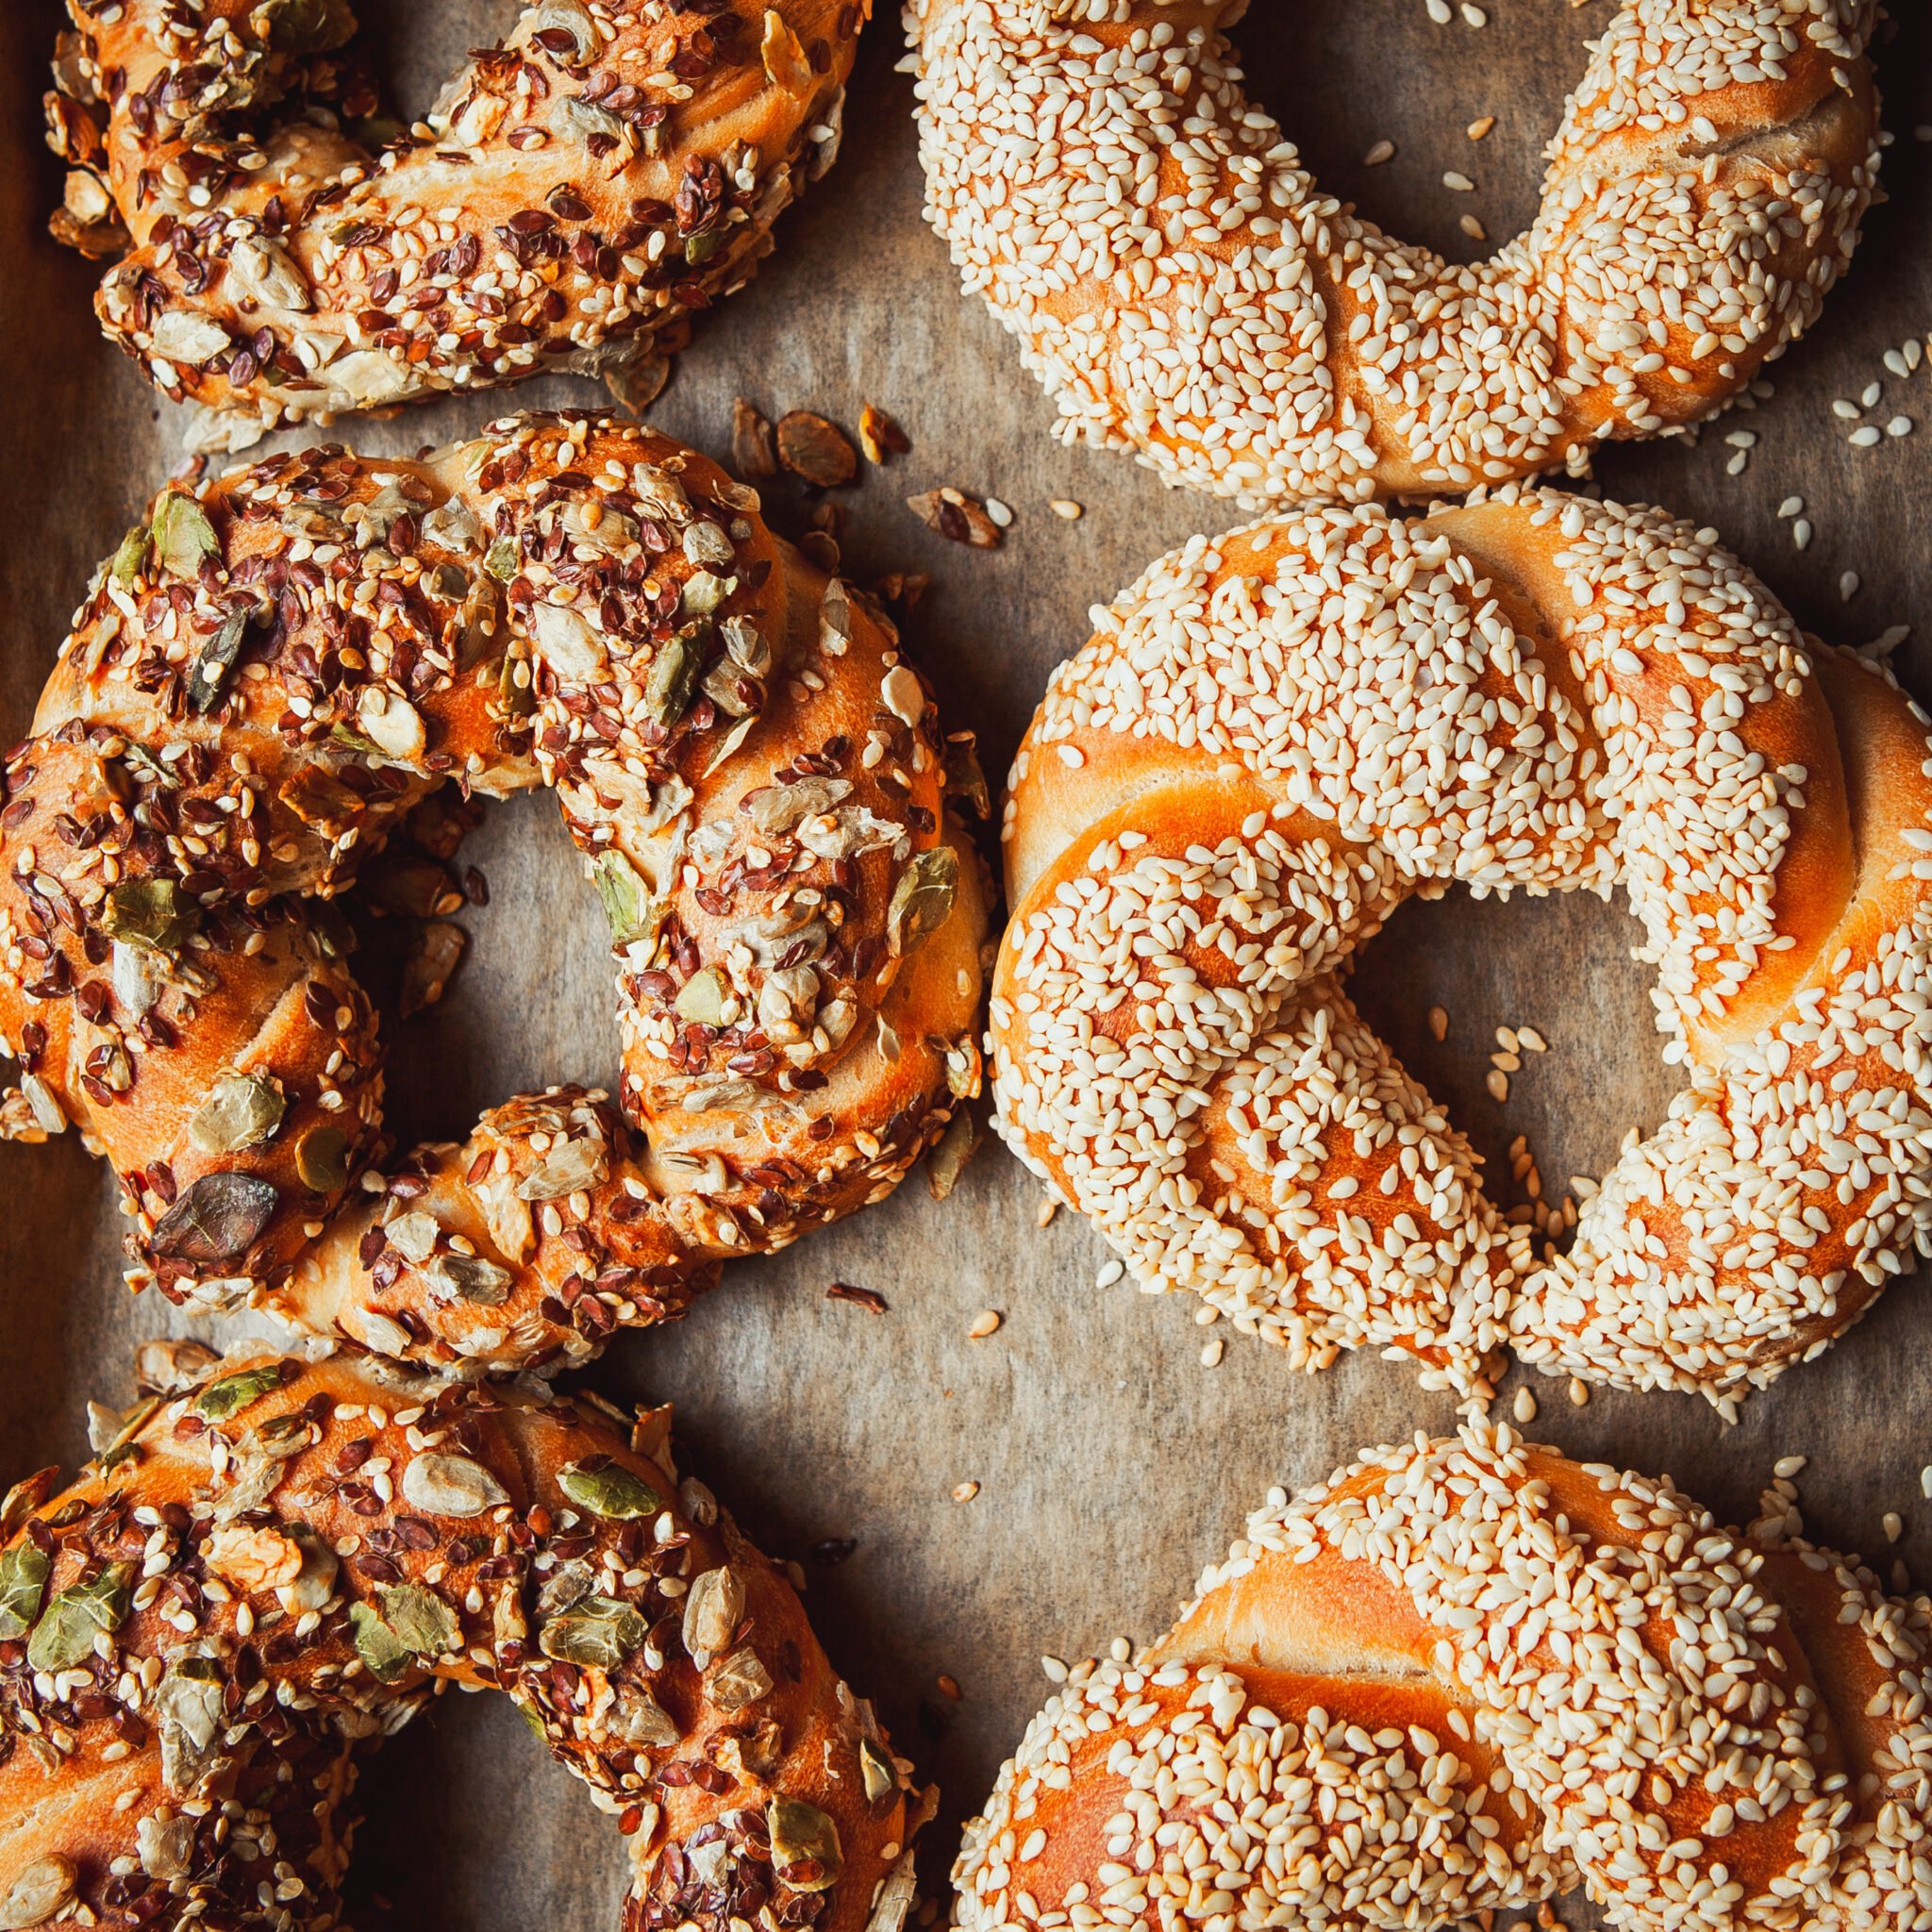
If you want to add toppings like sesame seeds or poppy seeds, sprinkle them over the bagels while they are still wet from boiling.
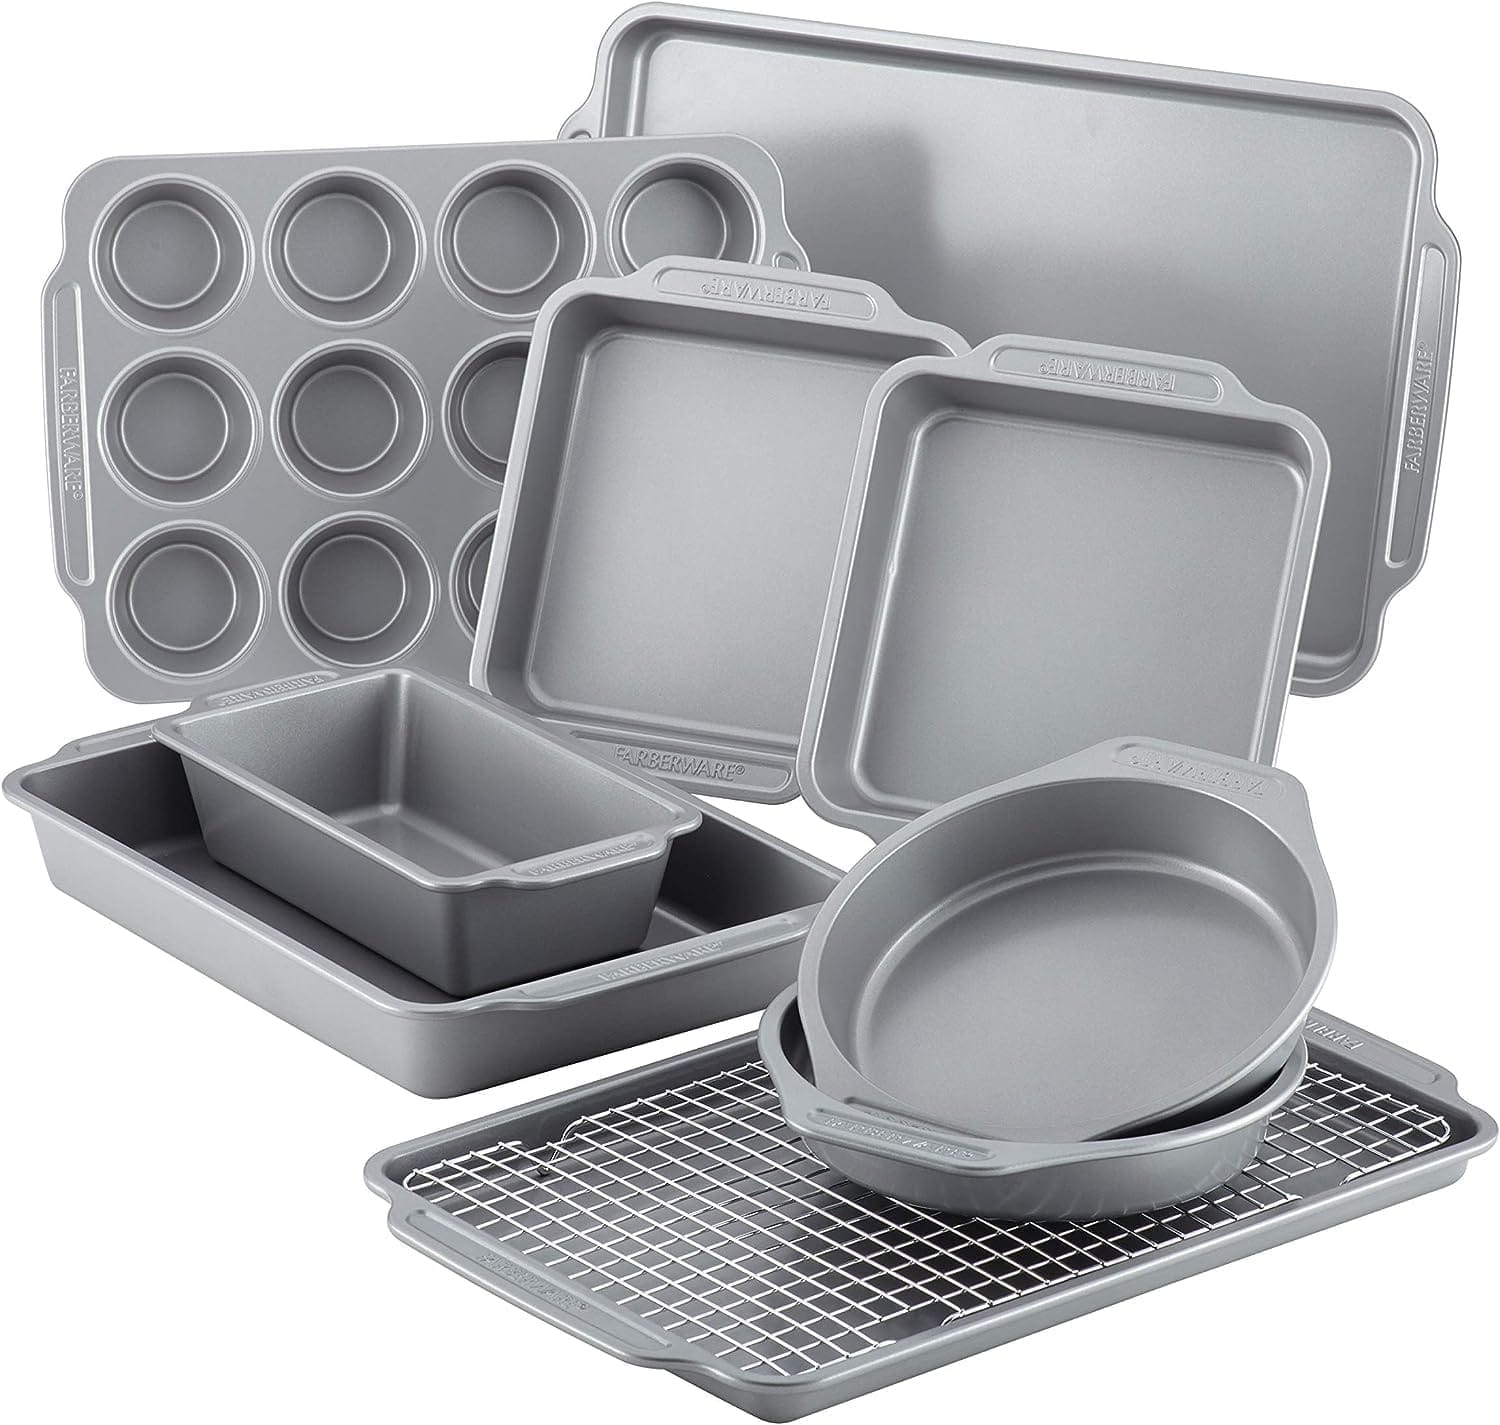
- Place the boiled and topped bagels on a baking sheet lined with parchment paper. Bake in the preheated oven for about 20-25 minutes or until they turn golden brown and sound hollow when tapped on the bottom.
Allow the bagels to cool on a wire rack before slicing and serving. You can enjoy them with cream cheese, smoked salmon, or your favorite toppings.
Tips
- Quality matters when it comes to flour. Bread flour works well for bagels because it has a higher protein content, which helps with gluten development and chewiness.
- Ensure your yeast is fresh and active. Activate it in warm water with a touch of sugar to get a frothy reaction before adding it to the flour.
- Kneading the dough for about 10-15 minutes helps develop gluten, giving the bagels their chewy texture. The dough should be smooth and elastic.
- After kneading, let the dough rest for about 10-15 minutes. This helps relax the gluten, making it easier to shape the bagels.
- Divide the dough into equal portions to create uniform-sized bagels. Roll each portion into a ball, then use your fingers to create a hole in the center. Stretch and shape the hole to your desired size.
- Boiling the bagels briefly before baking is essential for their characteristic chewiness. Add a tablespoon of sugar to the boiling water for extra flavor.
- Add your favorite toppings like sesame seeds, poppy seeds, coarse salt, or everything bagel seasoning for extra flavor and texture.
- When placing the shaped bagels on the baking sheet, ensure they have enough space to expand during baking without touching.
- Make sure your oven is fully preheated to the correct temperature before baking. This helps the bagels rise and bake evenly.
- Bake the bagels until they turn golden brown on the outside. They should also sound hollow when tapped on the bottom.
- Get creative with your bagels by adding ingredients like cinnamon, raisins, blueberries, or grated cheese to the dough for flavored bagels.
- Store homemade bagels in an airtight container at room temperature for up to a day, or freeze them for longer storage. Toast or reheat them when ready to eat.
- Homemade bagels are best enjoyed fresh out of the oven. Serve them with your favorite spreads, such as cream cheese, butter, or jam.





User Reviews