
Crafting the Perfect Charcuterie Board: A Step-by-Step Guide
Charcuterie boards are my love language. They offer a delightful combination of flavors, textures, and aesthetics, making them an ideal choice for any gathering. In recent years, charcuterie boards have become a culinary trend that combines artistry and flavor. This step-by-step guide will help you create a stunning and delicious charcuterie board that will surely impress your guests.
Step 1: Gather Your Supplies
Before you start assembling your charcuterie masterpiece, gather the essential supplies:
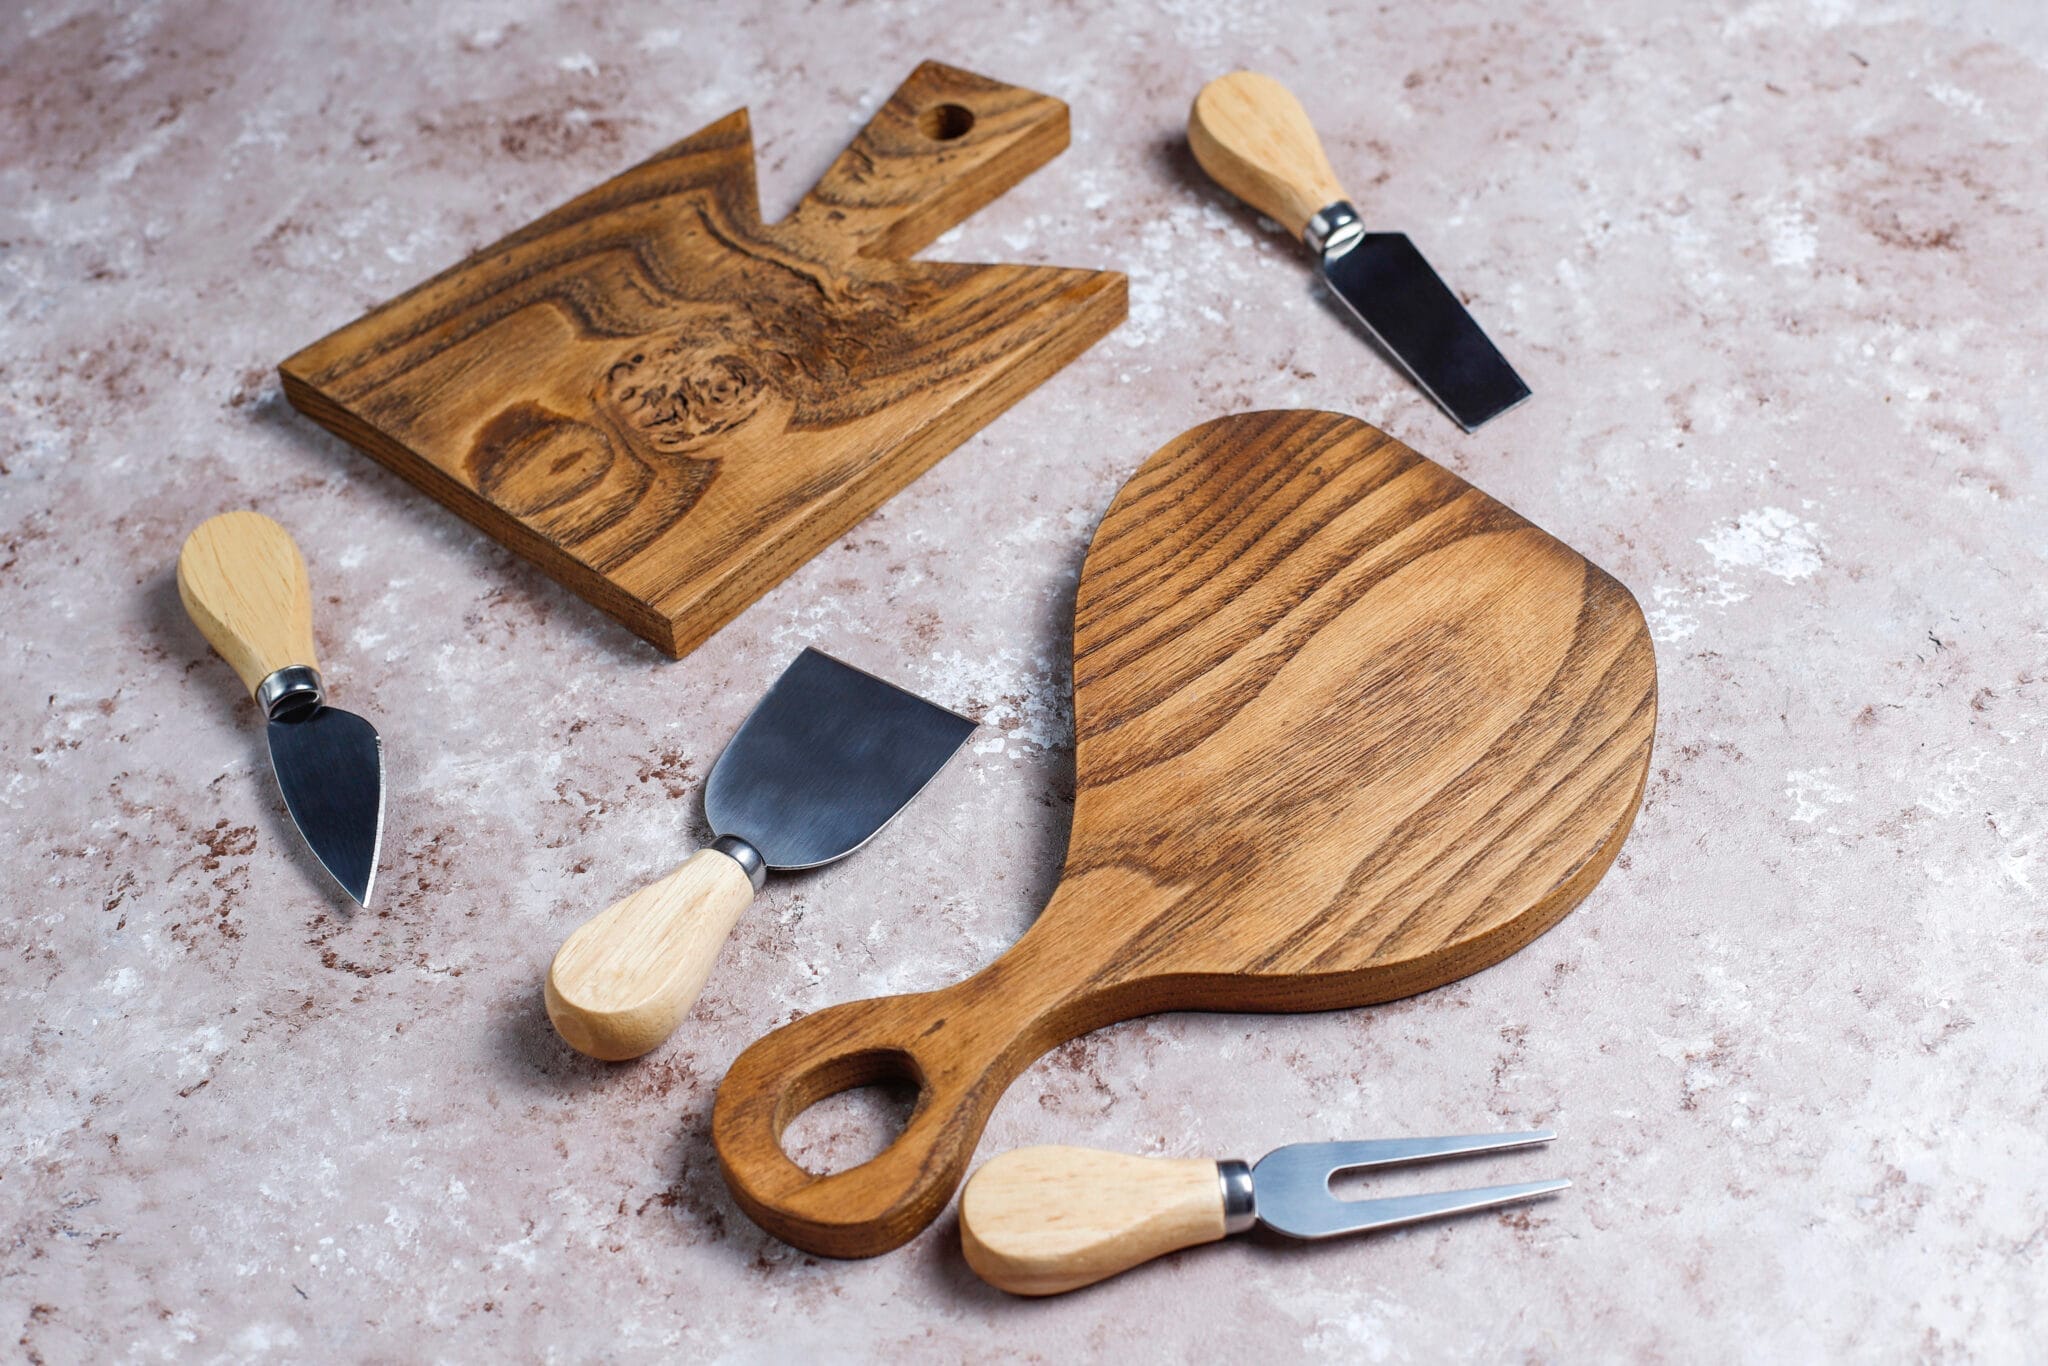
- A wooden or slate board, platter, or serving tray. There’s no wrong choice here; you’re the one who sets the rules. Just make sure you pick a board of the appropriate size.
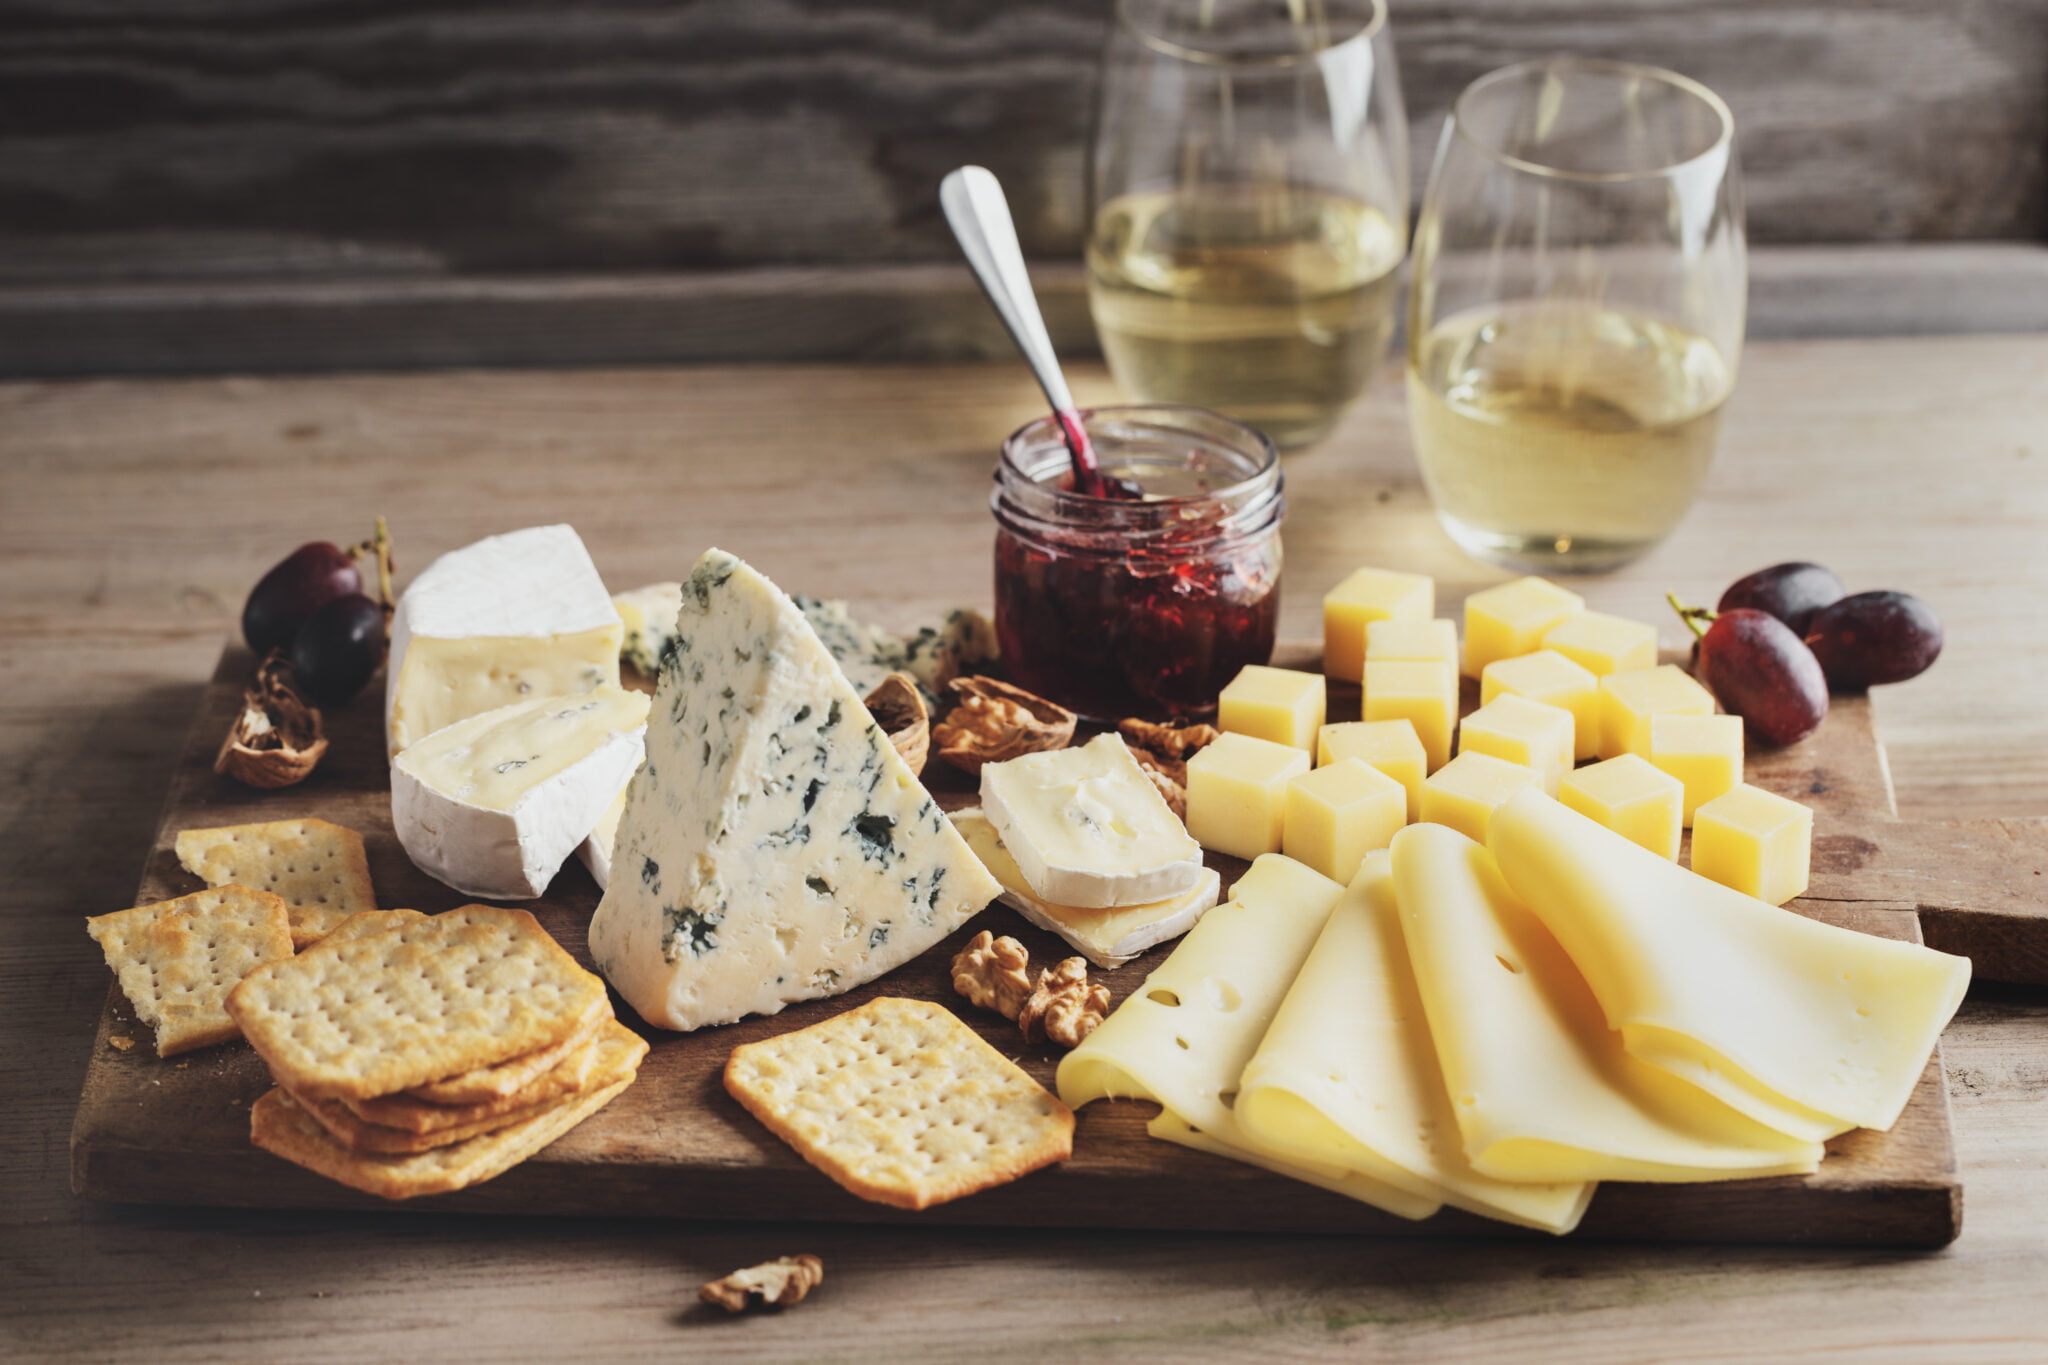
- A variety of cheeses, both soft and hard. Classic choices like brie, cheddar, and gouda compliment the meats and add a creamy richness to your board.
- An assortment of cured meats like prosciutto, salami, and chorizo. Meats provide a savory and salty contrast to other ingredients.
- Fresh or dry fruits: incorporate seasonal fruits such as grapes, strawberries, figs, or apple slices.
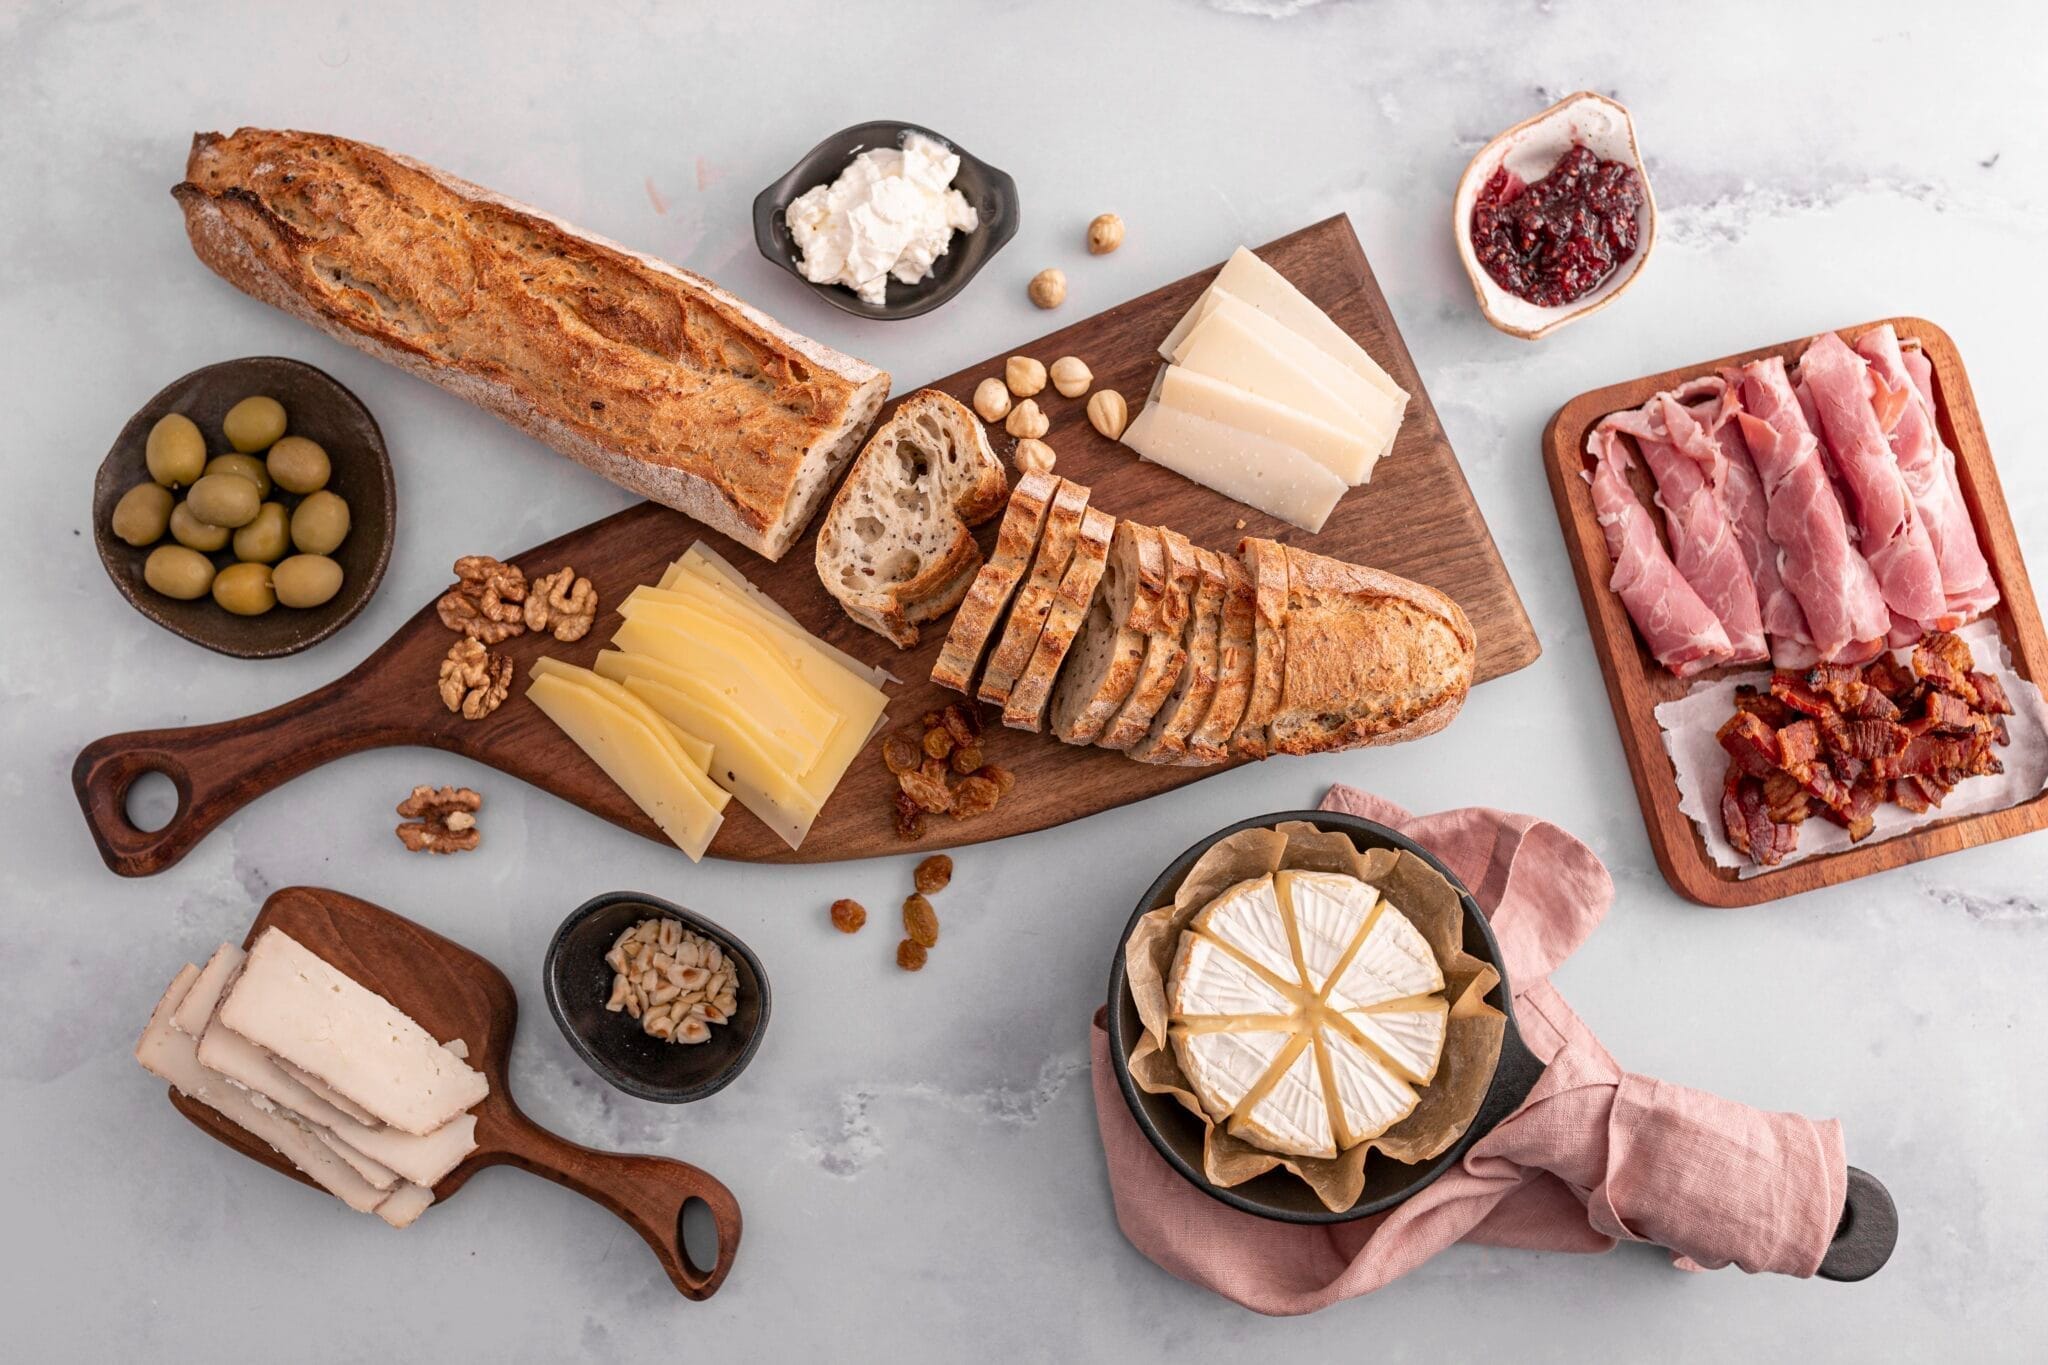
- Bread and Crackers: Offer an assortment of bread slices and crackers as the canvas for your charcuterie masterpiece. Baguette slices, whole-grain crackers, and breadsticks work wonderfully.
- Enhance the board’s flavor and visual appeal with an array of accompaniments. Consider adding olives, pickles, mustard, honey, and spreads like fig jam or tapenade.
- Nuts, such as almonds or walnuts.
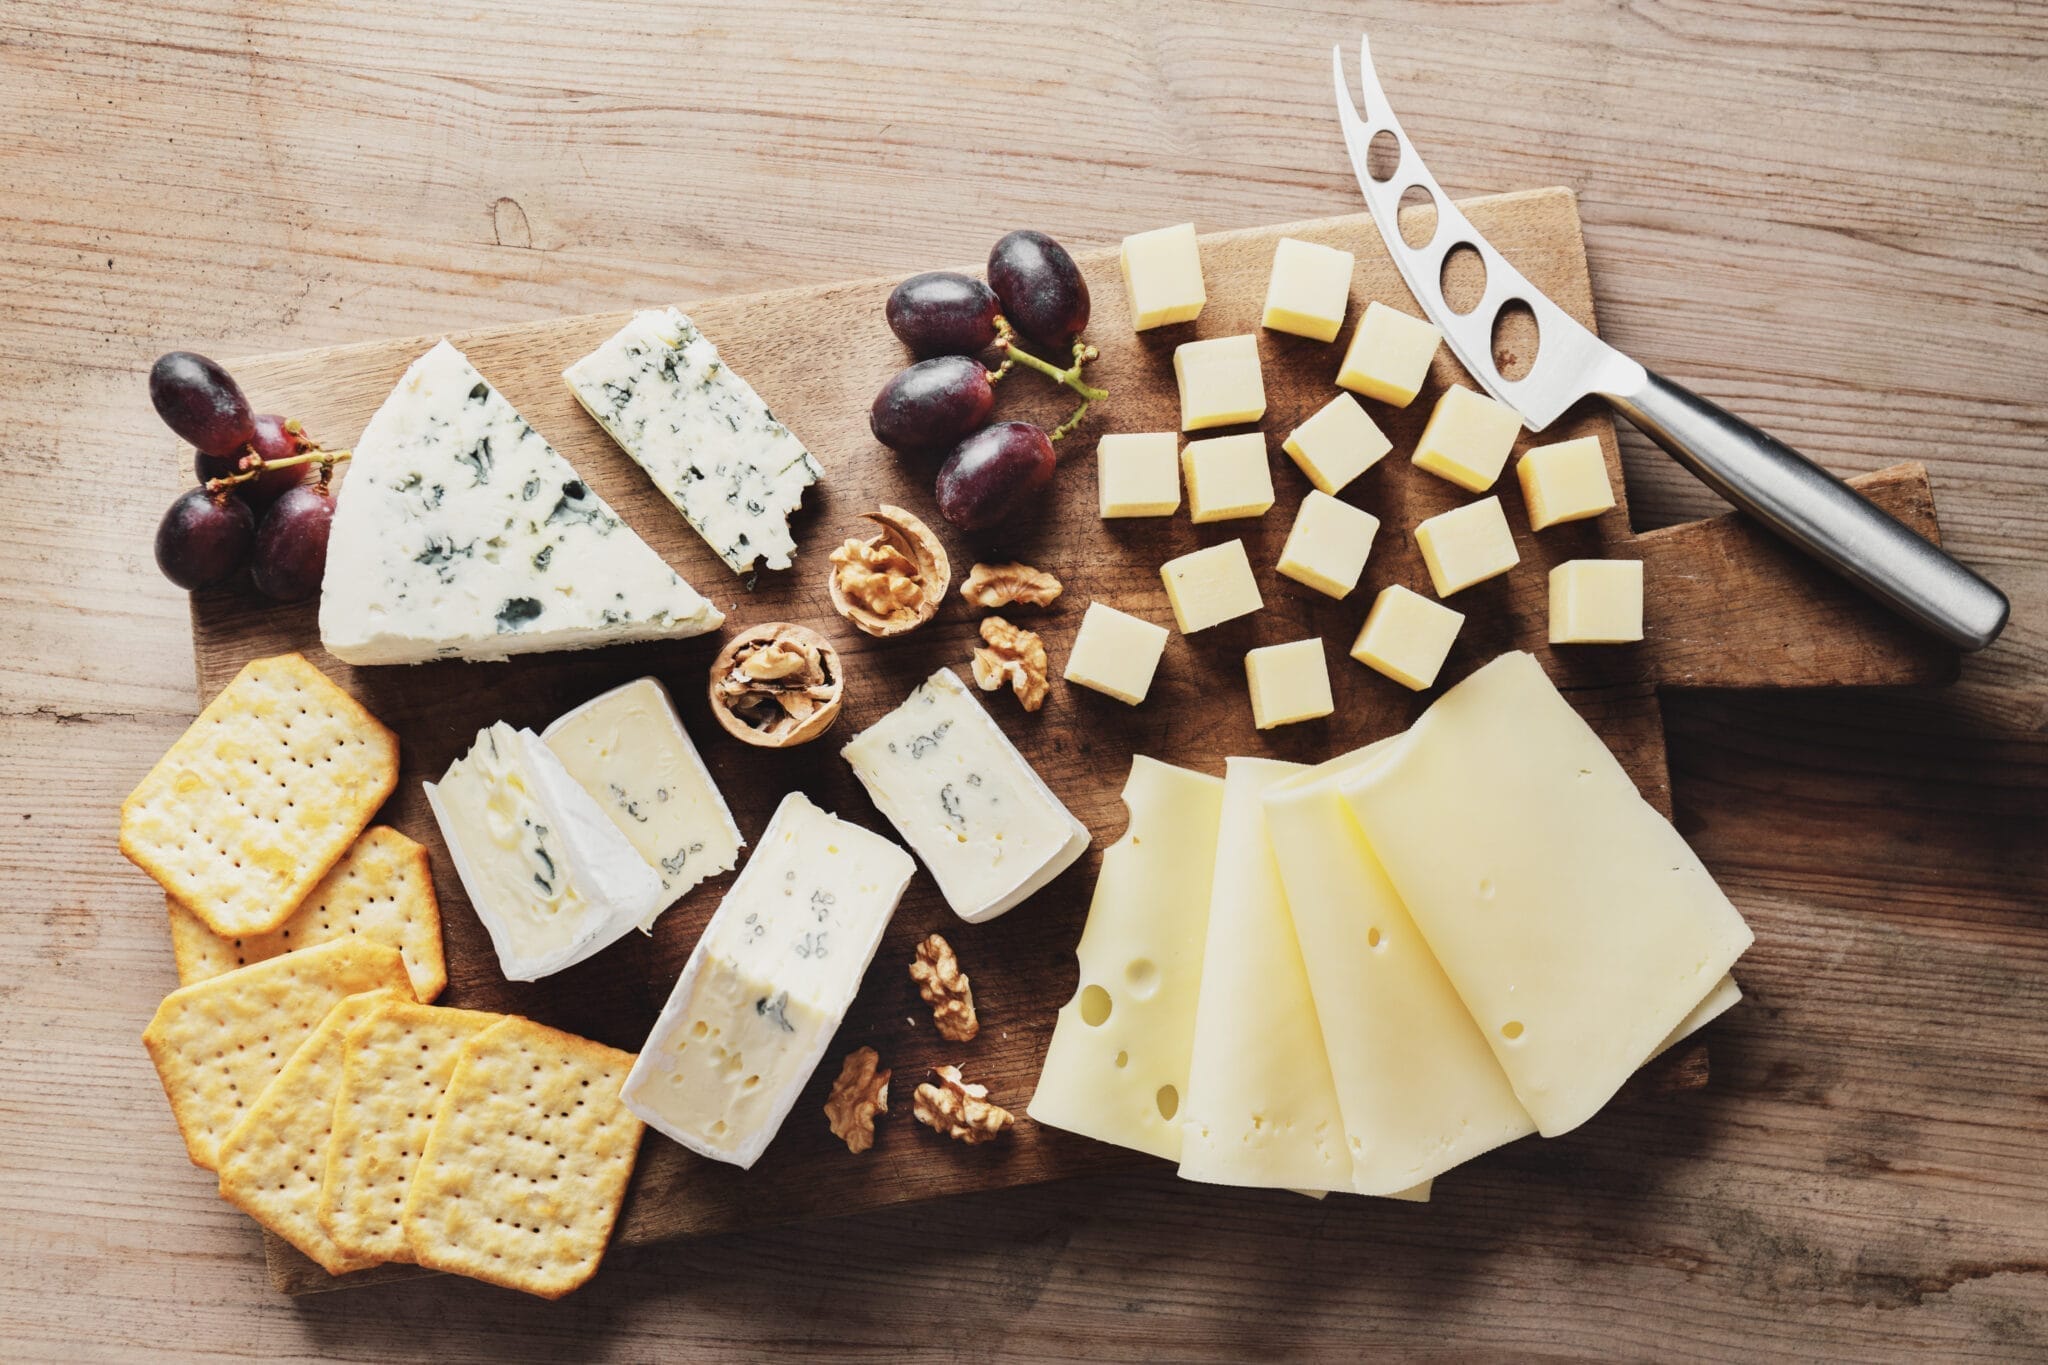
Step 2: Select Your Cheeses
Choose a diverse selection of cheeses. I recommend including a mix of soft cheeses like brie or goat cheese, semi-hard cheeses like cheddar or gouda, and a more intense option like blue cheese. Aim for a balance of flavors and textures.
Step 3: Pick Your Cured Meats
Select a variety of cured meats to complement the cheeses. Prosciutto, salami, and chorizo are popular choices. Honestly, there is no way to go wrong here, so feel free to experiment with different flavors and spice levels to cater to your guests’ preferences.
Step 4: Arrange the Cheese and Meats
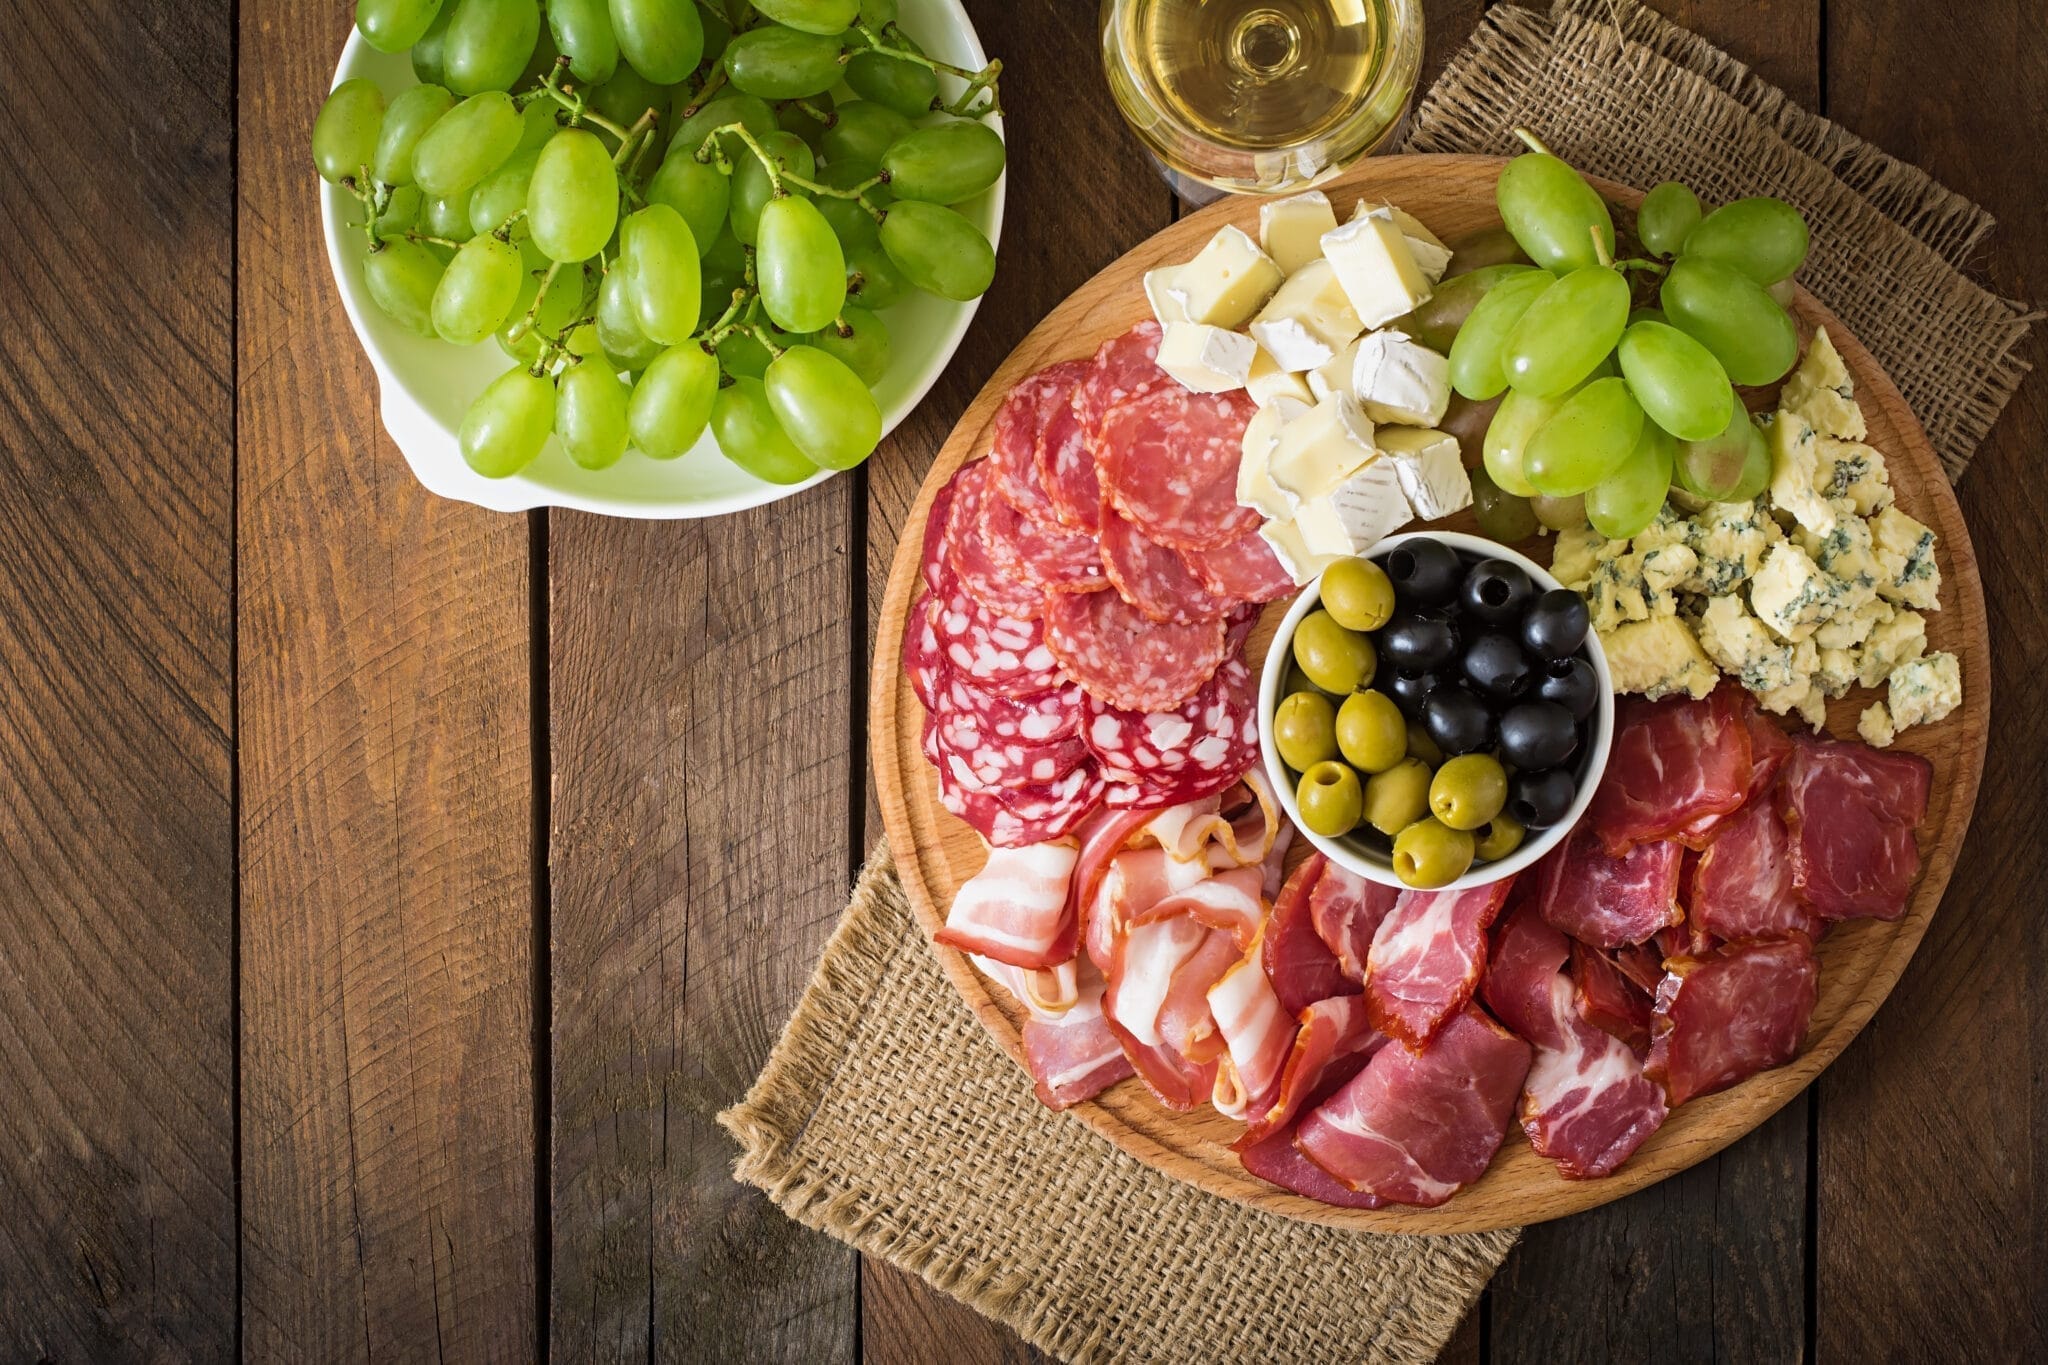
Start by placing your cheeses and cured meats on the board. Arrange them in clusters or fan them out to create an appealing visual effect. Fold or roll the meats for an attractive presentation. Make sure to leave some space for other ingredients. I personally start by making a curvy “river” of salami. Then arrange the cheese around it.
Step 5: Add Accompaniments
Scatter the olives, pickles, and spreads in between the meats and cheeses. Condiments like honey, mustard, or chutney can elevate the flavors of your charcuterie board. Place them in small bowls or drizzle them directly onto the cheese and meats for an artistic touch.
Step 6: Add Fruits
Fruits add a burst of color and sweetness to your charcuterie board. Grapes, figs, strawberries, apple slices, or even sliced pears are excellent choices. Arrange them around the cheeses and meats so you can fill the gaps.
Step 7: Include Cruncy Elements
Fill any remaining spaces with bread slices and crackers. Stagger them for an organized, rustic look.
Step 8: Introduce Nuts
Nuts add a delightful crunch to your board. Consider almonds, walnuts, or even candied pecans. Scatter them strategically to create a visually appealing balance.
Step 9: Garnish with Fresh Herbs
A touch of fresh herbs, like rosemary or basil, not only enhances the presentation but also adds a subtle aroma. Tuck small sprigs or leaves among the other ingredients.
Step 10: Serve and Enjoy
Serve with Utensils: Place small cheese knives, forks, and spreading utensils near the board to make it easy for guests to enjoy. Encourage your guests to mix and match flavors, creating their own perfect bites.
Here’s some inspiration to get you started.
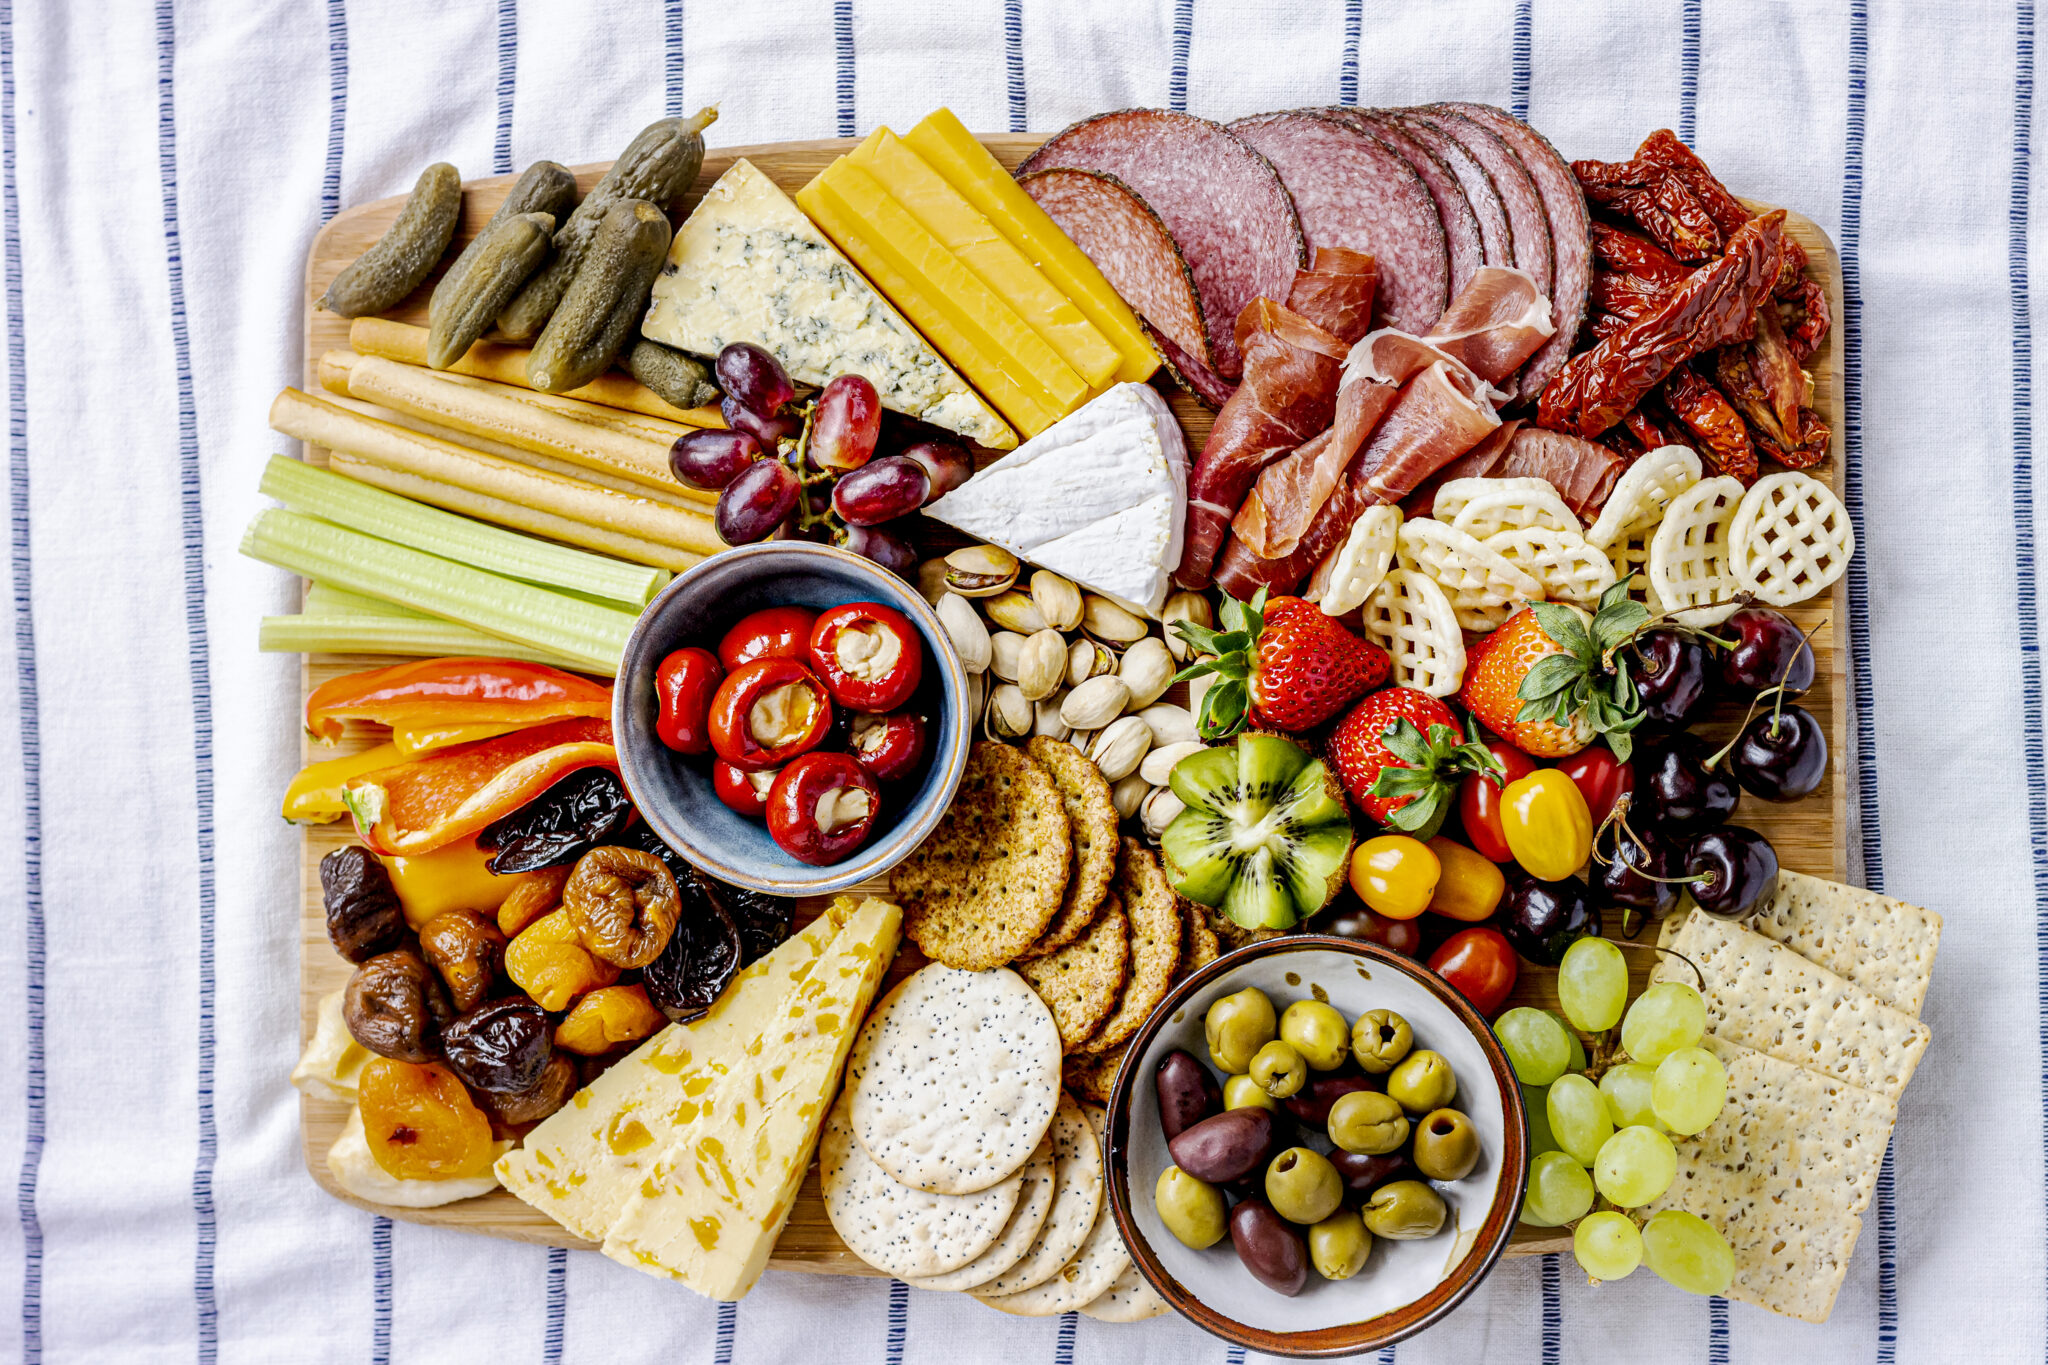
Creating a charcuterie board is as much about artistry as it is about taste. The beauty of creating a charcuterie board lies in its versatility and the opportunity to personalize it according to your preferences and occasion. With this step-by-step guide, you can craft a stunning and delicious centerpiece for any gathering. Experiment with different combinations, and most importantly, have fun in the process. Your charcuterie board will not only satisfy appetites but also become a conversation starter and a culinary masterpiece to remember.
My brother suggested I might like this website He was totally right This post actually made my day You cannt imagine just how much time I had spent for this information Thanks
I wonder how much work goes into creating a website this excellent and educational. I’ve read a few really good things here, and it’s definitely worth saving for future visits.